There’s a certain kind of nostalgia that comes rushing in with each bite of chocolate-covered ice cream—a sweet throwback to sunny afternoons, sticky hands, and laughter that lingered in the air. This homemade version brings that feeling home, and then some.
Not only does it taste fresher and richer than anything from the freezer aisle, but it also adds the joy of making each bite just the way you like it. With just a handful of ingredients and a little patience, you can create a treat that’s equal parts comforting and impressive.
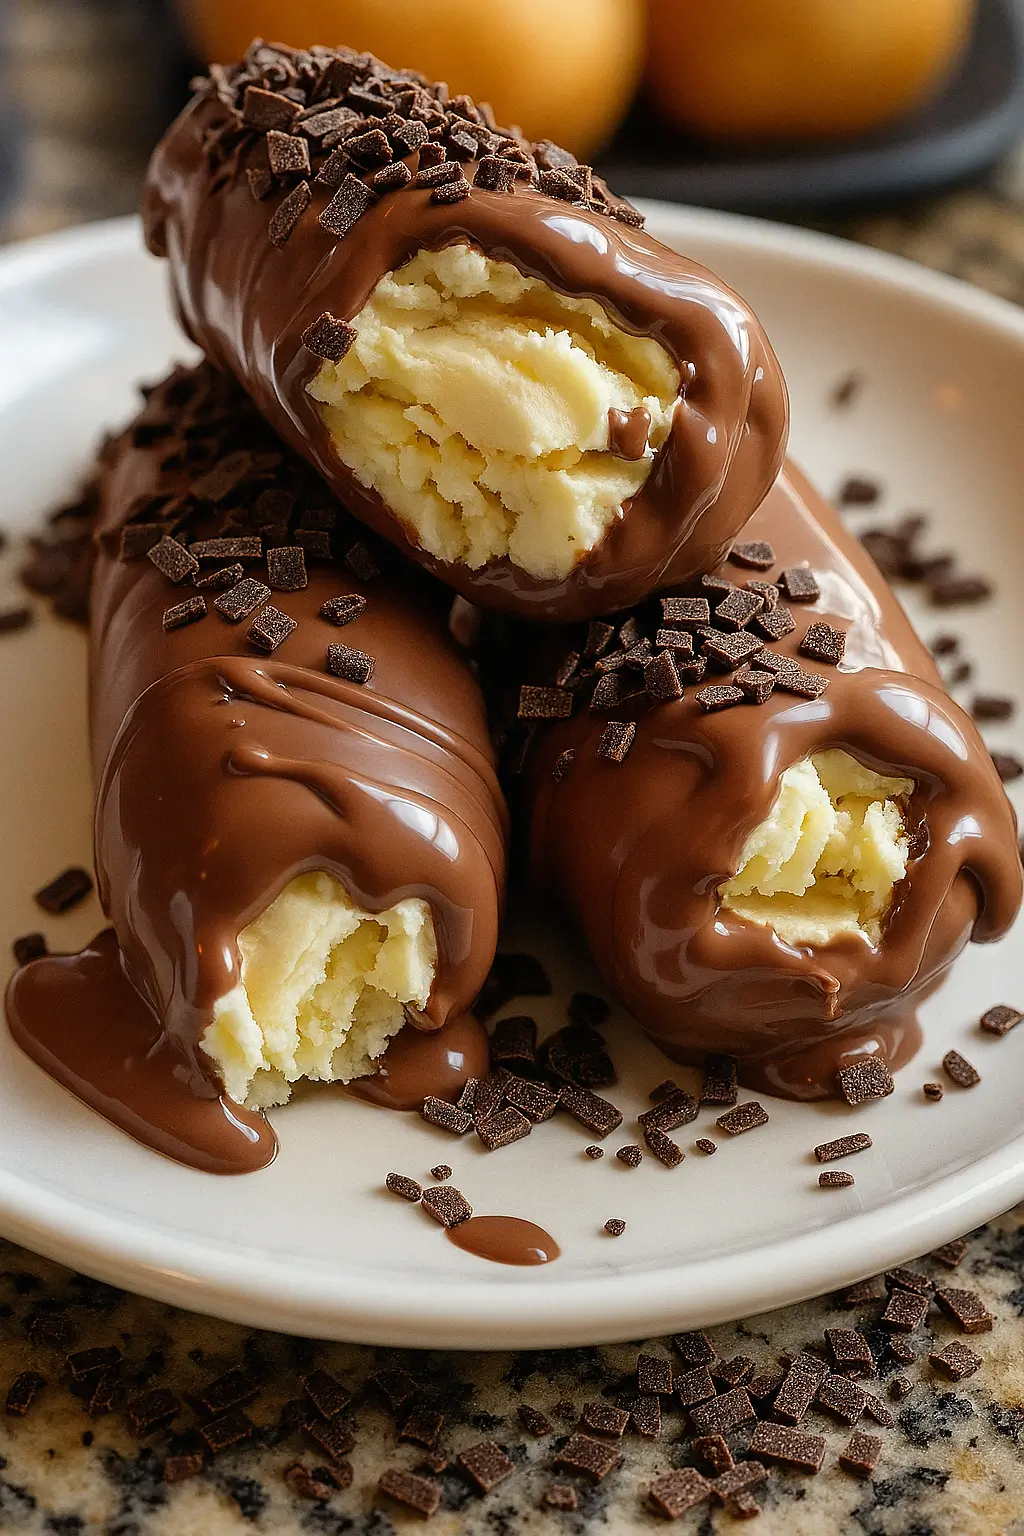
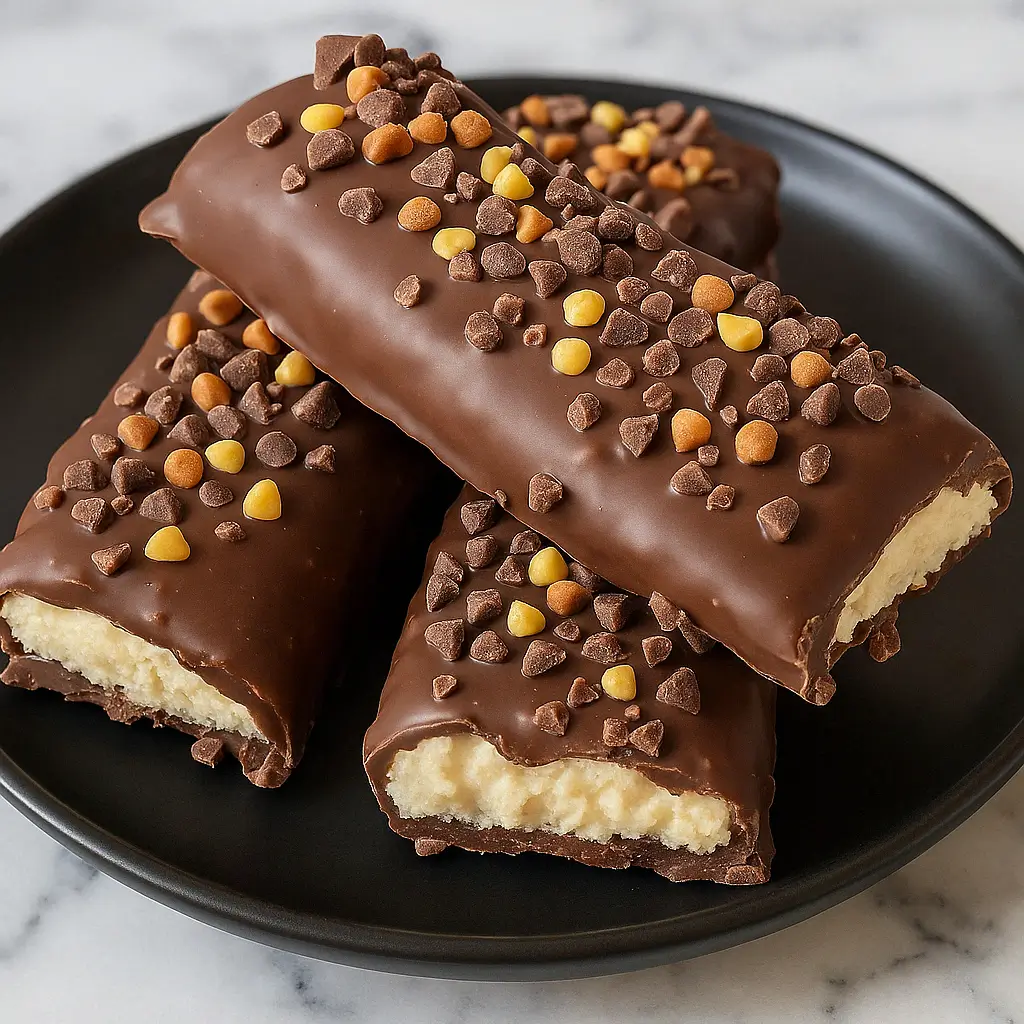
It’s a celebration in frozen form—perfect for birthdays, backyard hangouts, or just a well-deserved indulgence. Whether you go bold with dark chocolate or stick to the smooth sweetness of milk or white, it’s the contrast between the velvety ice cream center and that crisp, glossy shell that makes it unforgettable. Once you’ve made it yourself, the store-bought stuff won’t stand a chance.
Why You’ll Love This Recipe
- No ice cream maker needed
- Simple ingredients you probably already have at home
- Customizable coating (dark, milk, or white chocolate!)
- Make-ahead friendly – perfect for storing and grabbing anytime
Homemade Chocolate-Covered Ice Cream Recipe
- Prep Time: 15 minutes
- Freeze Time: 6 hours or overnight
- Chocolate Coating & Dipping: 20 minutes
- Servings: 8-10 pieces
- Equipment Needed: Hand or stand mixer, mixing bowls, spatula, loaf tin or silicone mold, parchment paper, heatproof bowl
Ingredients
For the Ice Cream:
- 500 ml whipping cream – Provides rich, airy texture when whipped, forming the ice cream base.
- 400 ml condensed milk – Sweetens the mixture and helps create a smooth, scoopable consistency.
- 1 teaspoon vanilla extract – Adds aroma and classic vanilla flavor to balance the sweetness.
For the Chocolate Coating:
- 200 g dark or milk chocolate – Dark for a rich, bittersweet contrast; milk for a softer, sweeter taste.
- 2 tablespoons coconut oil or cocoa butter – Makes the chocolate shell easier to bite and creates a glossy finish.
Instructions
- Whip the Cream: Chill your mixing bowl and beaters for 15 minutes beforehand. Pour the whipping cream into the chilled bowl and whip on medium-high speed for 3-5 minutes, or until soft peaks form.
- Mix Condensed Milk and Vanilla: In a separate bowl, combine condensed milk and vanilla extract. Stir gently until smooth and fragrant.
- Combine and Fold: Add a spoonful of whipped cream into the condensed milk mixture to lighten it. Then gently fold the rest of the whipped cream in, using a spatula with a scooping motion to retain the airiness.
- Freeze the Ice Cream: Pour the mixture into a loaf tin or silicone mold. Smooth the top and press a layer of plastic wrap directly onto the surface. Freeze for at least 6 hours or overnight until fully set.
- Prepare the Chocolate Coating: Place chopped chocolate and coconut oil in a heatproof bowl. Melt using a double boiler or microwave in 30-second intervals, stirring in between until smooth. Let it cool slightly (not hot to the touch) before using.
- Shape and Dip: Once the ice cream is solid, scoop into balls or slice into bars. Dip each piece into the chocolate coating quickly and set onto parchment-lined baking sheet.
- Set and Serve: Refrigerate for 10-15 minutes until the chocolate shell is completely firm. Garnish with crushed nuts, sprinkles, or a pinch of sea salt if desired.
Variations to Try:
- Swap vanilla extract with almond or mint extract.
- Add crushed cookies or fruit puree to the ice cream before freezing.
- Use white chocolate for a fun twist.
- Drizzle caramel over the chocolate for a gourmet finish.
Storing Leftovers & Reheating
- Storage: Keep in an airtight container in the freezer for up to 2 weeks.
- Reheating: Not needed, but let it sit at room temp for 3-5 minutes before serving for the best texture.
Pro Tips
- Use chilled tools when whipping cream to get the best volume.
- Dip quickly – don’t let the ice cream linger in the warm chocolate.
- If using silicone molds, lightly grease them for easier release.
- Add a pinch of instant coffee to the chocolate to intensify its flavor.
Final Thoughts
There’s real joy in creating something so delicious with your own hands. This chocolate-covered ice cream isn’t just dessert – it’s a little bit of magic, frozen in time. Whether you’re serving it to guests or sneaking a bite for yourself, it never fails to impress. Once you master this simple recipe, you’ll find endless ways to make it your own. Happy scooping!
Print
Homemade Chocolate-Covered Ice Cream
- Total Time: 15 minutes
- Yield: 8-10 pieces 1x
Ingredients
- 500 ml whipping cream
- 400 ml condensed milk
- 1 tsp vanilla extract
- 200 g dark or milk chocolate
- 2 tbsp coconut oil or cocoa butter
Instructions
- Whip the Cream: Chill your mixing bowl and beaters for 15 minutes beforehand. Pour the whipping cream into the chilled bowl and whip on medium-high speed for 3-5 minutes, or until soft peaks form.
- Mix Condensed Milk and Vanilla: In a separate bowl, combine condensed milk and vanilla extract. Stir gently until smooth and fragrant.
- Combine and Fold: Add a spoonful of whipped cream into the condensed milk mixture to lighten it. Then gently fold the rest of the whipped cream in, using a spatula with a scooping motion to retain the airiness.
- Freeze the Ice Cream: Pour the mixture into a loaf tin or silicone mold. Smooth the top and press a layer of plastic wrap directly onto the surface. Freeze for at least 6 hours or overnight until fully set.
- Prepare the Chocolate Coating: Place chopped chocolate and coconut oil in a heatproof bowl. Melt using a double boiler or microwave in 30-second intervals, stirring in between until smooth. Let it cool slightly (not hot to the touch) before using.
- Shape and Dip: Once the ice cream is solid, scoop into balls or slice into bars. Dip each piece into the chocolate coating quickly and set onto parchment-lined baking sheet.
- Set and Serve: Refrigerate for 10-15 minutes until the chocolate shell is completely firm. Garnish with crushed nuts, sprinkles, or a pinch of sea salt if desired.
- Prep Time: 15 minutes


Leave a Reply